Your information saved successfully.
Setting Up Sections
Customize your sections and layouts
With Waitlist Me Pro, you can break your tables into sections. If you haven’t added your tables yet, check out this brief page to enter your table details. (If you’re using the full floorplan layout with a Platinum subscription, please see this page for instructions.)
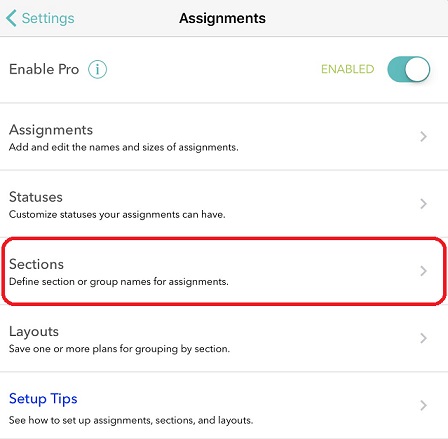
After your table details are entered, you can set up your sections and layouts in the app. Press the gear icon, then tap on Manage Assignments, then Sections.
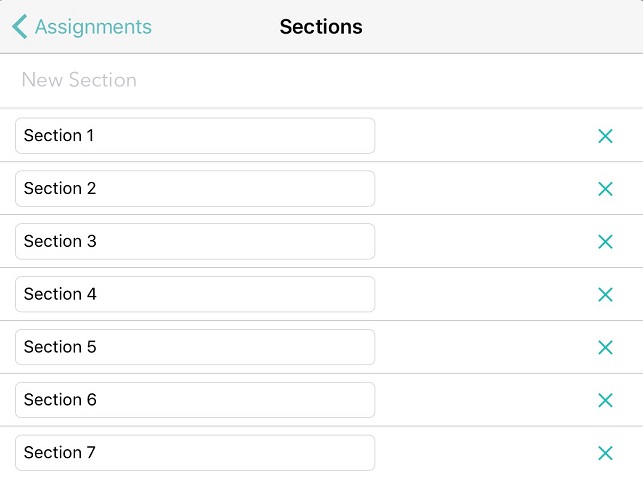
Add the names for all of the sections you plan to use in any of your layouts.
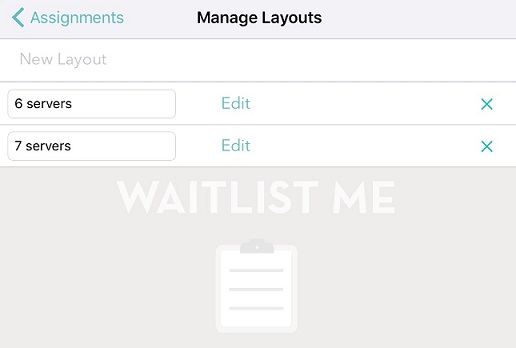
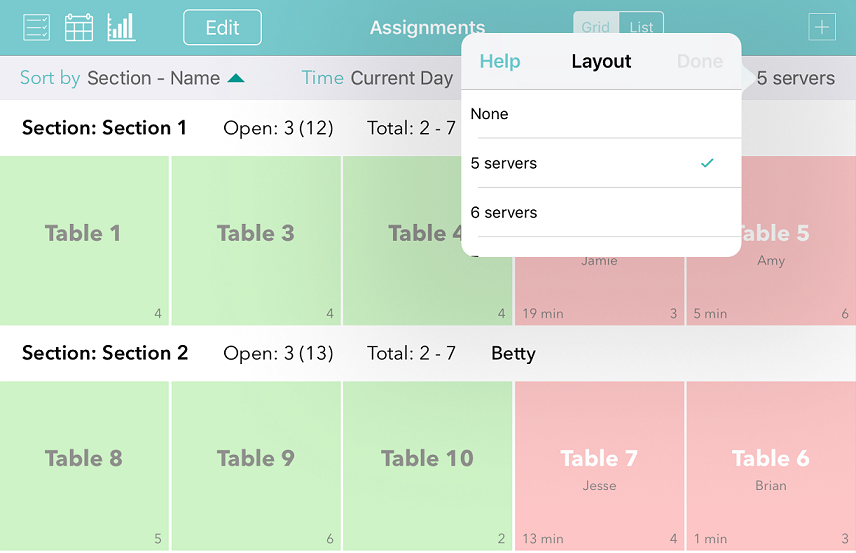
Once you have added all of your sections, press Assignments on the upper left to get back to the previous screen. Select Layouts to set up the various layouts you use in your restaurant. For example, if you have different floor plans for Weekdays vs Weekends, add those headers as Layouts. If you differentiate by the number of servers working, add names such as 5 Servers, 6 Servers, 7 Servers, etc.
After adding the names of all of your Layouts, press the Edit button on the first layout. You’ll see all of the tables you previously added, and you can split them into sections, as well as assign a color if desired.
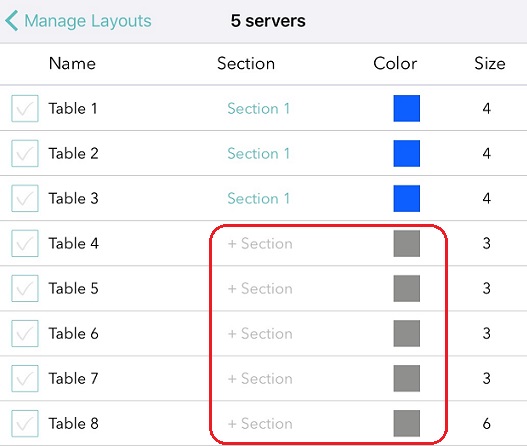
Use the check boxes on the left to select multiple tables, then assign their section and color. Repeat the process until you have divided all of your layouts into their corresponding sections.
You can switch between layouts as needed on the Assignments page. Next, play with the various settings for Sort by and Mode until you find the view that best fits your needs. See more here.
See how everything works together in this quick video:
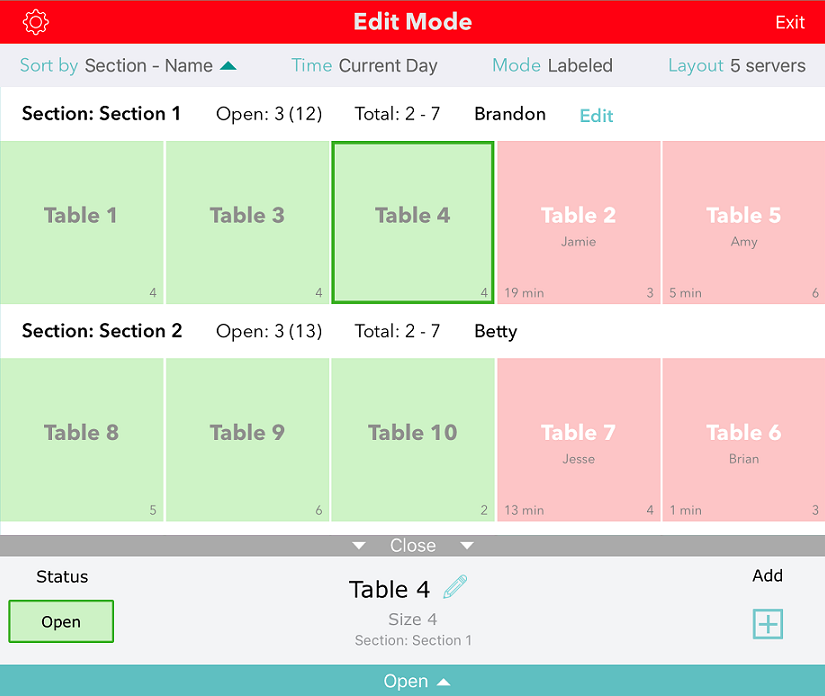
Once your sections are set up, you can make changes on the fly with Edit Mode. Press the Edit button on the upper left to be able to change table sizes, names, and section assignment. Simply tap on any table, and then press the pencil icon in the footer bar. You can also press and hold any time to then drag and drop it in another section.
Related table management features: Table Views | Table Setup | Stats
After your table details are entered, you can set up your sections and layouts in the app. Press the gear icon, then tap on Manage Assignments, then Sections.

Add the names for all of the sections you plan to use in any of your layouts.

Once you have added all of your sections, press Assignments on the upper left to get back to the previous screen. Select Layouts to set up the various layouts you use in your restaurant. For example, if you have different floor plans for Weekdays vs Weekends, add those headers as Layouts. If you differentiate by the number of servers working, add names such as 5 Servers, 6 Servers, 7 Servers, etc.

After adding the names of all of your Layouts, press the Edit button on the first layout. You’ll see all of the tables you previously added, and you can split them into sections, as well as assign a color if desired.

Use the check boxes on the left to select multiple tables, then assign their section and color. Repeat the process until you have divided all of your layouts into their corresponding sections.
You can switch between layouts as needed on the Assignments page. Next, play with the various settings for Sort by and Mode until you find the view that best fits your needs. See more here.

See how everything works together in this quick video:
Once your sections are set up, you can make changes on the fly with Edit Mode. Press the Edit button on the upper left to be able to change table sizes, names, and section assignment. Simply tap on any table, and then press the pencil icon in the footer bar. You can also press and hold any time to then drag and drop it in another section.

Related table management features: Table Views | Table Setup | Stats
